Creating new ATP instance & Login to APEX
What you will get from this post:
A complete guidance to create an Autonomous Transaction Processing database and login to the Oracle APEX. Also we'll cover how to connect Cloud DB with local SQL Developer.
Steps to be followed:
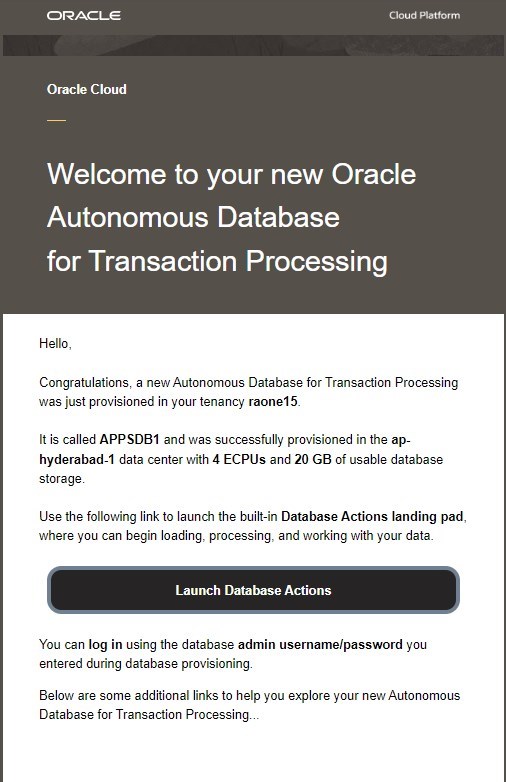
After successful signup process, we'll be redirected to the OCI home page

From the home page left side menu go to Identity & Security tab and find Compartments. For creating ATP instance its not necessary to create a compartment. But for the formal way we should not create DB under a root directory.

Under compartments tab create a new Compartment under root.

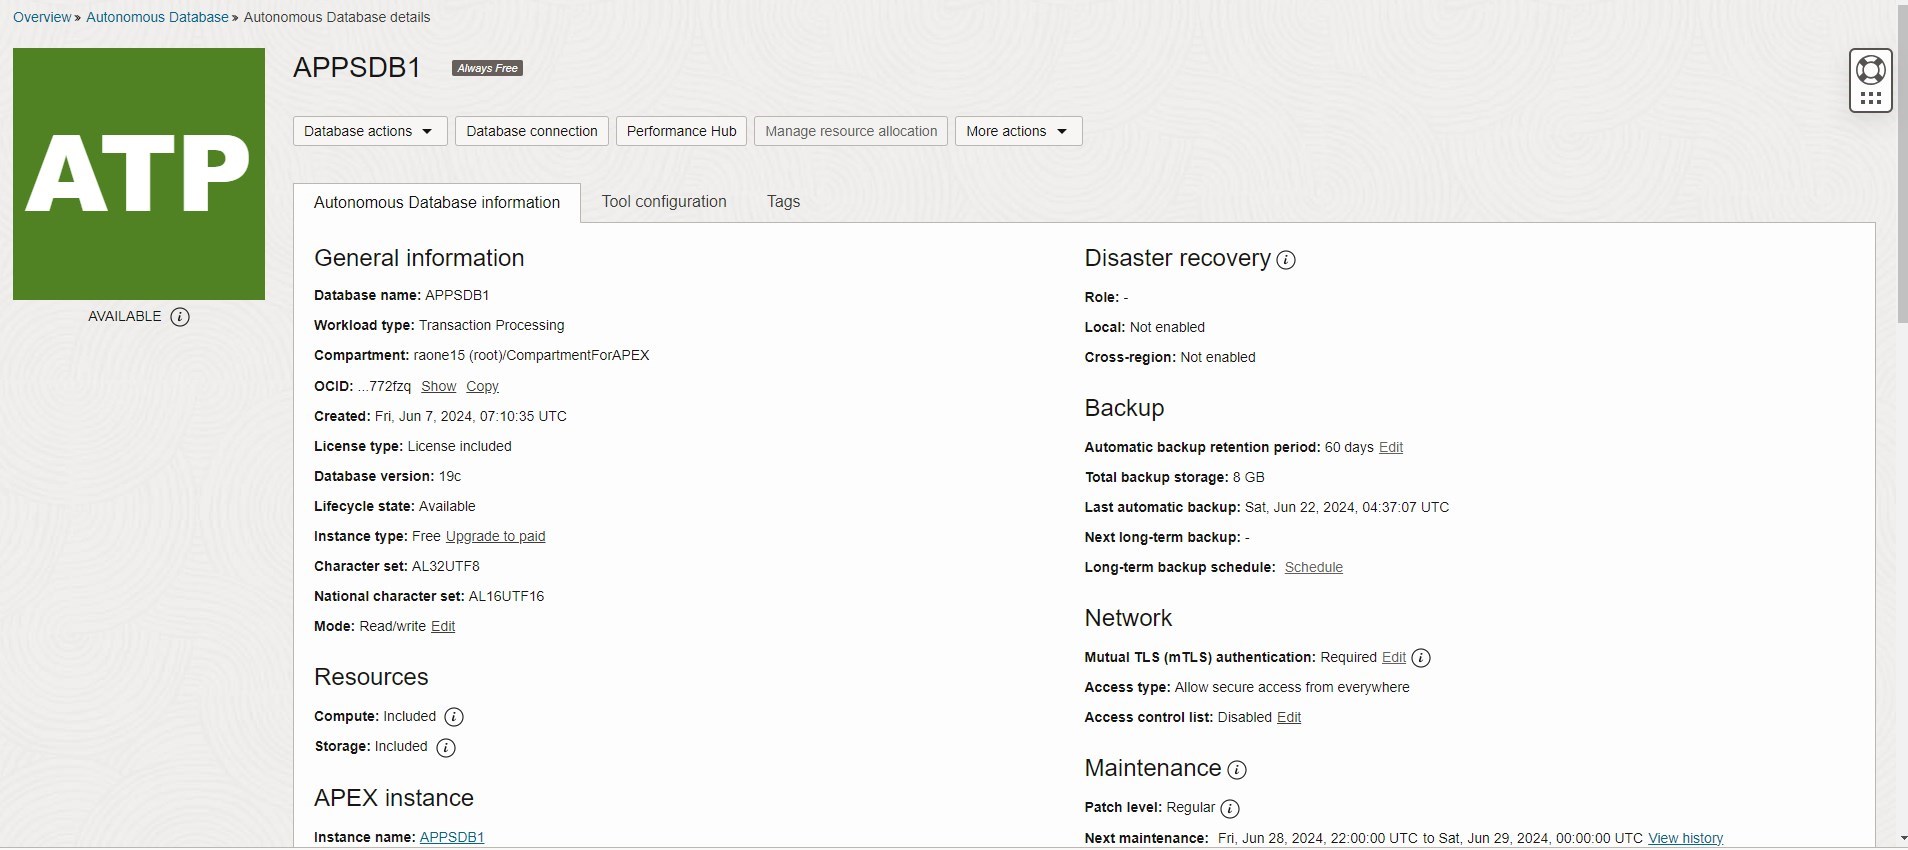
Then navigate to left side panel and choose Oracle Database & click Autonomous Transaction Processing and select the compartment which you created the above.


Click Create Autonomous Database & provide required details. Choose Always Free configuration options & network access type as Secure access from everywhere.


Creating USER:

Else we can use Database action/ SQL section and run the below sql query to creating a USER and granting access.
CREATE USER APPS IDENTIFIED BY Pa55word@01;
GRANT CONNECT TO APPS;
GRANT CONSOLE_DEVELOPER TO APPS;
GRANT DWROLE TO APPS;
GRANT OML_DEVELOPER TO APPS;
GRANT RESOURCE TO APPS;
ALTER USER APPS DEFAULT ROLE CONSOLE_DEVELOPER,DWROLE,OML_DEVELOPER;
-- ENABLE OML
ALTER USER APPS GRANT CONNECT THROUGH OML$PROXY;
ALTER USER APPS QUOTA 500M ON DATA;
Login to APEX:


begin
apex_util.set_workspace(p_workspace => 'APPS');
apex_util.create_user(
p_user_name => 'USERNAME',
p_web_password => 'password',
p_developer_privs => 'ADMIN:CREATE:DATA_LOADER:EDIT:HELP:MONITOR:SQL',
p_email_address => 'xyz@gmail.com',
p_default_schema => 'APPS',
p_change_password_on_first_use => 'N' );
commit;
end;
/
Connecting Cloud Database with Local SQL Developer:

- Move that zip file to a secure location and open SQL Developer from your local system navigate new connection window.
- Give name anything you want and fill the Username and Password which we created before. (We can able to connect with ADMIN credentials also).
- Choose Connection type as Cloud Wallet and provide the wallet path.
- Now test the connection. Definitely status will get updated as Success.


Comments
Post a Comment